Deploying Django > 3.1 (async) with Uvicorn and Nginx
 Table of Contents
Django async
Django 3.1 shipped with async views. This means we can start using async/await in Django views:
async def index(request):
    res = await do_stuff_async()
    # return your view
To reap all the benefits of this feature, you have to run Django under an ASGI server like Daphne, Uvicorn, or Hypercorn. In this guide I use Uvicorn.
The setup
The stack uses battle-tested components:
- PostgreSQL
- Nginx
- Uvicorn with Gunicorn
Install and configure Postgres
First off, head over PostgreSQL Downloads and configure the appropriate repo for your operating system.
Next up, install Postgres, start the service, and enable it at boot. Also, create a role and a database.
Install and configure Git, install Python
On the target production server install Git and Python > 3.6. Git is needed later for cloning and pulling the Python code.
Install Nginx
Head over the Nginx documentation and configure the appropriate repo for your operating system.
Next up, install Nginx, start the service, and enable it at boot.
Configure Nginx
In a typical production setup, Nginx acts as a reverse proxy for the Uvicorn/Gunicorn service, and as a static file server for Django.
This means we need to configure Nginx with an upstream, which is later referenced by the proxy_pass directive. Typically, you create a configuration file such as /etc/nginx/conf.d/my-domain.conf with the following configuration:
upstream backend {
    server 127.0.0.1:8000;
    # There could be more than a backend here
}

server {
    server_name my-domain.com;

    location / {
	proxy_pass http://backend;
	proxy_set_header Host $host;
	proxy_set_header X-Real-IP $remote_addr;
	proxy_set_header X-Forwarded-For $proxy_add_x_forwarded_for;
    proxy_set_header X-Forwarded-Proto $scheme;

    }
}
For a traditional WSGI setup, you can use uwsgi_pass instead of proxy_pass, but this is no longer the case if the application uses ASGI.
The upstream directive in our setup tells Nginx to forward the traffic to 127.0.0.1:8000 where Uvicorn will listen.
In addition to the main server block we also add a block for static files (JavaScript, CSS, images):
upstream backend {
    server 127.0.0.1:8000;
}

server {
    server_name my-domain.com;

    location / {
	proxy_pass http://backend;
	proxy_set_header Host $host;
	proxy_set_header X-Real-IP $remote_addr;
	proxy_set_header X-Forwarded-For $proxy_add_x_forwarded_for;
    proxy_set_header X-Forwarded-Proto $scheme;

    }
}

server {
    server_name static.my-domain.com;

    location / {
        alias /home/django0/repo_root/static;
    }
}
In this example I keep statics under a separate subdomain. After changing the configuration for Nginx always make sure to check it:
nginx -tThen, reload the service:
systemctl reload nginxIf you're completely new to reverse proxies and Nginx, check out A breakdown of how NGINX is configured with Django.
Install Certbot and configure SSL
Head over Certbot documentation, and follow the instructions to install Certbot on the target machine. Once done you can request free SSL certificates for your virtual hosts with:
/usr/local/bin/certbot-autoThis tool will also add the appropriate SSL configuration like listen 443 ssl to each Nginx virtual host, including the redirect from non-SSL to SSL.
Don't forget to add a cron so certbot runs at least monthly to renew any certificate.
Preparing the environment for deploy
Once the server is ready we prepare the Django environment for deploy. Follow these steps (these must be automated most of the times, with Ansible or your favorite CD tool):
- create an unprivileged user on the target machine
- generate an SSH public key for the same user
- authorize the key for deploy in your code repo
- clone the repo
- activate a virtual environment and install the dependencies for the Django project
Create an unprivileged user on the target machine:
adduser django0Generate an SSH public key for the same user:
su - django0$ ssh-keygenAuthorize the key for deploy in your code repo (example for Github):
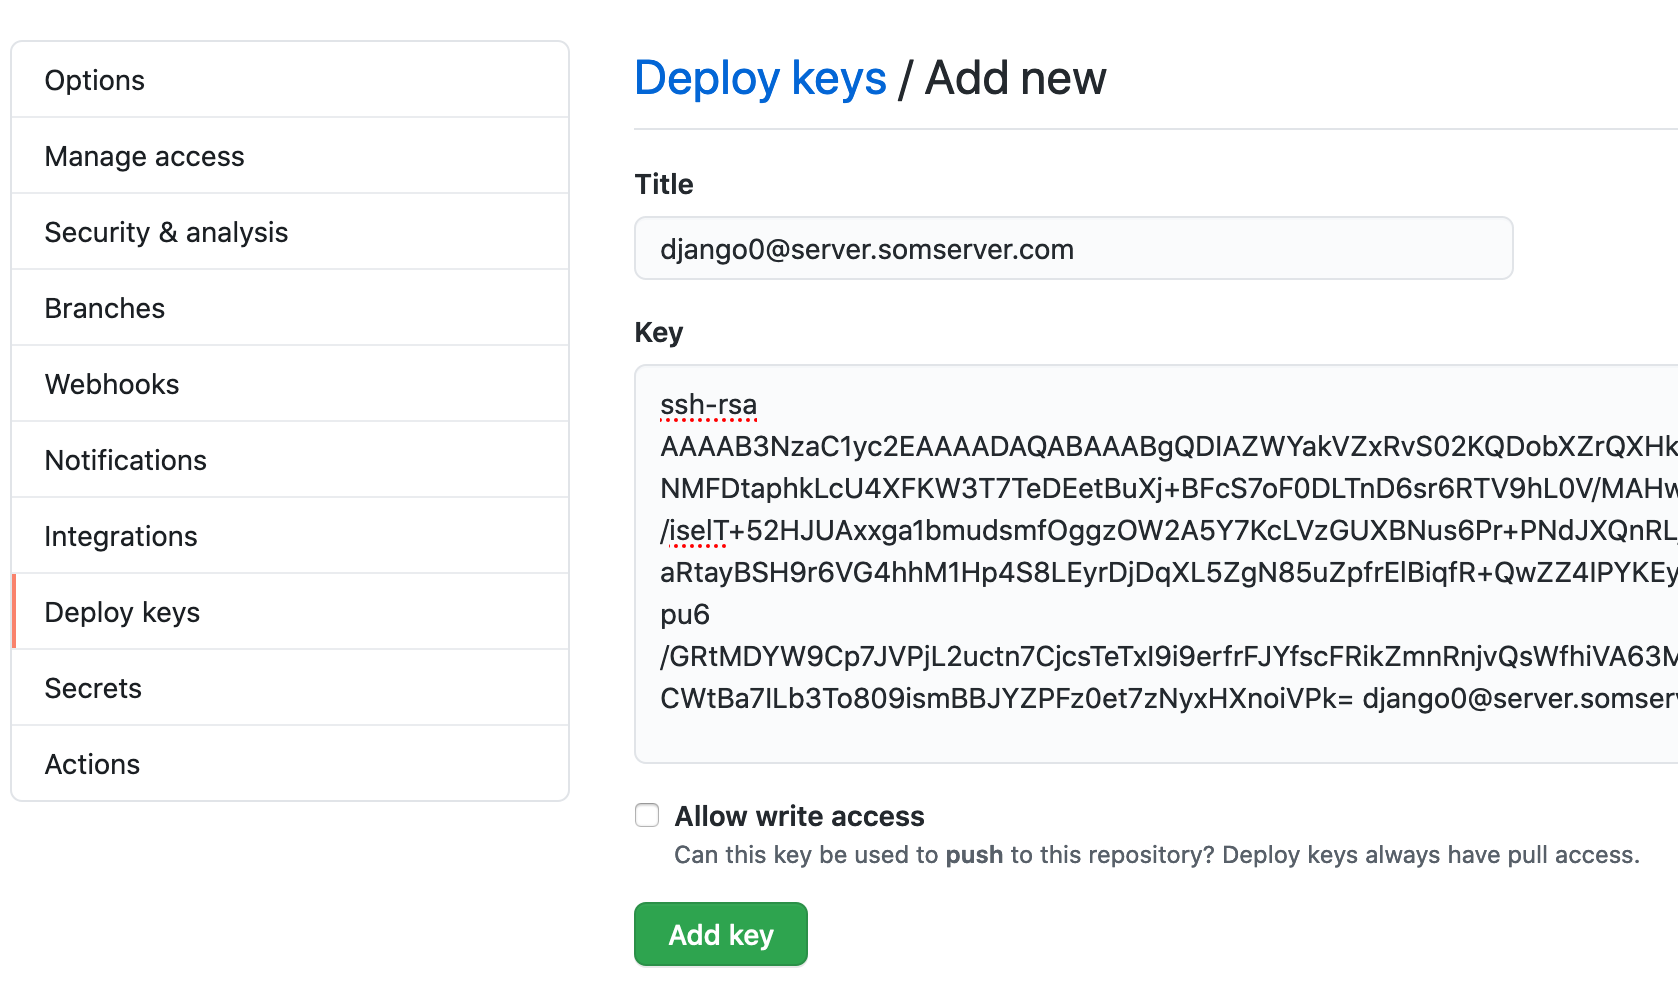
Clone the repo, and move into it:
$ git clone git@github.com:username/reponame.git repo_root
$ cd repo_root/
This tutorial assumes the following project structure:
├── app1
├── app2
├── app3
├── project_name
│   ├── asgi.py
│   ├── __init__.py
    ├── settings
    │   ├── __init__.py
    │   ├── base.py
    │   ├── development.py
    │   ├── staging.py
    │   └── production.py
│   ├── urls.py
│   └── wsgi.py
├── manage.py
├── README.md
├── requirements
│   ├── base.txt
│   ├── development.txt
│   └── production.txt
└── venv
Next up you will need to install the dependencies. Typically you will have different requirements file, one for production and one for development, plus a base file:
requirements/
├── base.txt
├── development.txt
└── production.txt
In production.txt require the base file, and define the production dependencies:
-r ./base.txt
gunicorn==20.0.4
uvicorn==0.12.0
httptools==0.1.1
uvloop==0.14.0
In base.txt you will have everything you need to run the project:
Django==3.1.1
djangorestframework==3.12.1
// and so on
Since we will run Uvicorn, It's important to have httptools and uvloop defined in the requirement file (they're not peer dependencies of uvicorn).
Activate a Python virtual environment and install the dependencies for the Django project:
$ python3.8 -m venv venv
$ source venv/bin/activate
$ pip install -r requirements/production.txt
Note: after activating the Python virtual environment you should see (venv) in the prompt.
Split settings
A well structured Django project has per-environment settings:
├── project_name
│   ├── asgi.py
│   ├── __init__.py
    ├── settings
    │   ├── .env
    │   ├── __init__.py
    │   ├── base.py
    │   ├── development.py
    │   ├── staging.py
    │   └── production.py
│   ├── urls.py
│   └── wsgi.py
Each configuration directive is driven by an .env file, which differs by environment and is never committed to the repo. This file is then loaded by libraries like django-environ.
Here's a typical configuration for django-environ. This is project_name/settings/base.py:
import environ
from pathlib import Path


BASE_DIR = Path(__file__).resolve().parent.parent

## Twelve factor
env = environ.Env(
    DEBUG=(bool, False)
)

environ.Env.read_env()

SECRET_KEY = env("SECRET_KEY")
DEBUG = env("DEBUG")

# Other configurations here

DATABASES = {
    'default': env.db()
}

# Other configurations here

ALLOWED_HOSTS = env.list("ALLOWED_HOSTS")
STATIC_URL = env("STATIC_URL")
By default, django-environ looks for project_name/settings/.env.
In the base file you place everything that is common to each environment, but should change depending on the environment itself, for example:
- the secret key
- the database connection
- the static URL`
In production.py instead, you import everything from base.py, and in addition you set up directives like ALLOWED_HOSTS and SECURE_SSL_REDIRECT which are strictly production matter:
from .base import * # noqa

SECURE_SSL_REDIRECT = True
STATIC_ROOT = env("STATIC_ROOT")
Testing Django with Uvicorn
We can now test Django under Uvicorn with ASGI (make sure to have (venv) in the prompt):
export DJANGO_SETTINGS_MODULE=project_name.settings.production
gunicorn project_name.asgi:application -w 2 -k uvicorn.workers.UvicornWorker --log-file -
If everything goes well you should see the following output:
[2020-10-02 11:51:25 +0200] [10059] [INFO] Starting gunicorn 20.0.4
[2020-10-02 11:51:25 +0200] [10059] [INFO] Listening at: http://127.0.0.1:8000 (10059)
[2020-10-02 11:51:25 +0200] [10059] [INFO] Using worker: uvicorn.workers.UvicornWorker
[2020-10-02 11:51:25 +0200] [10061] [INFO] Booting worker with pid: 10061
[2020-10-02 11:51:25 +0200] [10062] [INFO] Booting worker with pid: 10062
[2020-10-02 09:51:26 +0000] [10061] [INFO] Started server process [10061]
[2020-10-02 09:51:26 +0000] [10061] [INFO] Waiting for application startup.
[2020-10-02 09:51:26 +0000] [10061] [INFO] ASGI 'lifespan' protocol appears unsupported.
[2020-10-02 09:51:26 +0000] [10061] [INFO] Application startup complete.
[2020-10-02 09:51:26 +0000] [10062] [INFO] Started server process [10062]
[2020-10-02 09:51:26 +0000] [10062] [INFO] Waiting for application startup.
[2020-10-02 09:51:26 +0000] [10062] [INFO] ASGI 'lifespan' protocol appears unsupported.
[2020-10-02 09:51:26 +0000] [10062] [INFO] Application startup complete.
The number of workers -w should be adjusted based on the number of CPU cores.
Making Uvicorn persistent
To start Uvicorn at boot we can create a systemd file. This file should go in /etc/systemd/system/django0.service where django0 is the name of the service.
[Unit]
Description=django0 uvicorn daemon
After=network.target

[Service]
Environment=DJANGO_SETTINGS_MODULE=project_name.settings.production
User=django0
Group=django0
WorkingDirectory=/home/django0/repo_root
ExecStart=/home/django0/repo_root/venv/bin/gunicorn project_name.asgi:application -w 2 -k uvicorn.workers.UvicornWorker --log-file -

[Install]
WantedBy=multi-user.target
Once the file is in place check if it's loaded:
systemctl status django0You should see:
● django0.service - django0 uvicorn daemon
   Loaded: loaded (/etc/systemd/system/django0.service; disabled; vendor preset: disabled)
   Active: inactive (dead)
Next up start the service at boot with:
systemctl enable django0To start it immediately:
systemctl start django0If you make any change to project_name/settings/production.py don't forget to restart the app:
systemctl restart django0Static files, settings, and migrations
Before finishing up let's collect any static file. First, ensure that project_name/settings/production.py is configured correctly in regards of static files and everything else, and that you have .env:
from .base import * # noqa

SECURE_SSL_REDIRECT = True
STATIC_ROOT = env("STATIC_ROOT")
An example of .env for this production setup:
SECRET_KEY=w4@a(2(b^5y4grx$eoe1)5&ui_ta%-ulw=*+we3%-ssp9w_rb5
DATABASE_URL=psql://user:password@127.0.0.1/dbname
STATIC_ROOT=static/
STATIC_URL=https://static.my-domain.com/
ALLOWED_HOSTS=my-domain.com
Next up run (make sure to have (venv) in the prompt):
export DJANGO_SETTINGS_MODULE=project_name.settings.production
python manage.py collectstatic --noinput
This will place all the static files in /home/django0/repo_root/static.
Finally, run migrations:
python manage.py migrateInfinite redirects and SECURE_SSL_REDIRECT
When your Django application is behind the reverse proxy, and the reverse proxy acts as an SSL termination, you should always configure SECURE_SSL_REDIRECT to True.
However, if Nginx already redirects HTTP to HTTPS, Django will enter an infinite redirect. To solve the problem, configure proxy_set_header X-Forwarded-Proto $scheme; in your Nginx configuration.
In Django, configure SECURE_PROXY_SSL_HEADER as follows:
SECURE_PROXY_SSL_HEADER = ("HTTP_X_FORWARDED_PROTO", "https")Automate all the things!
The steps presented here must be automated, either with a tool like Ansible, or with your favorite CD tool.
